3D Printed Bathroom Cabinet Shelf Finishing Strip
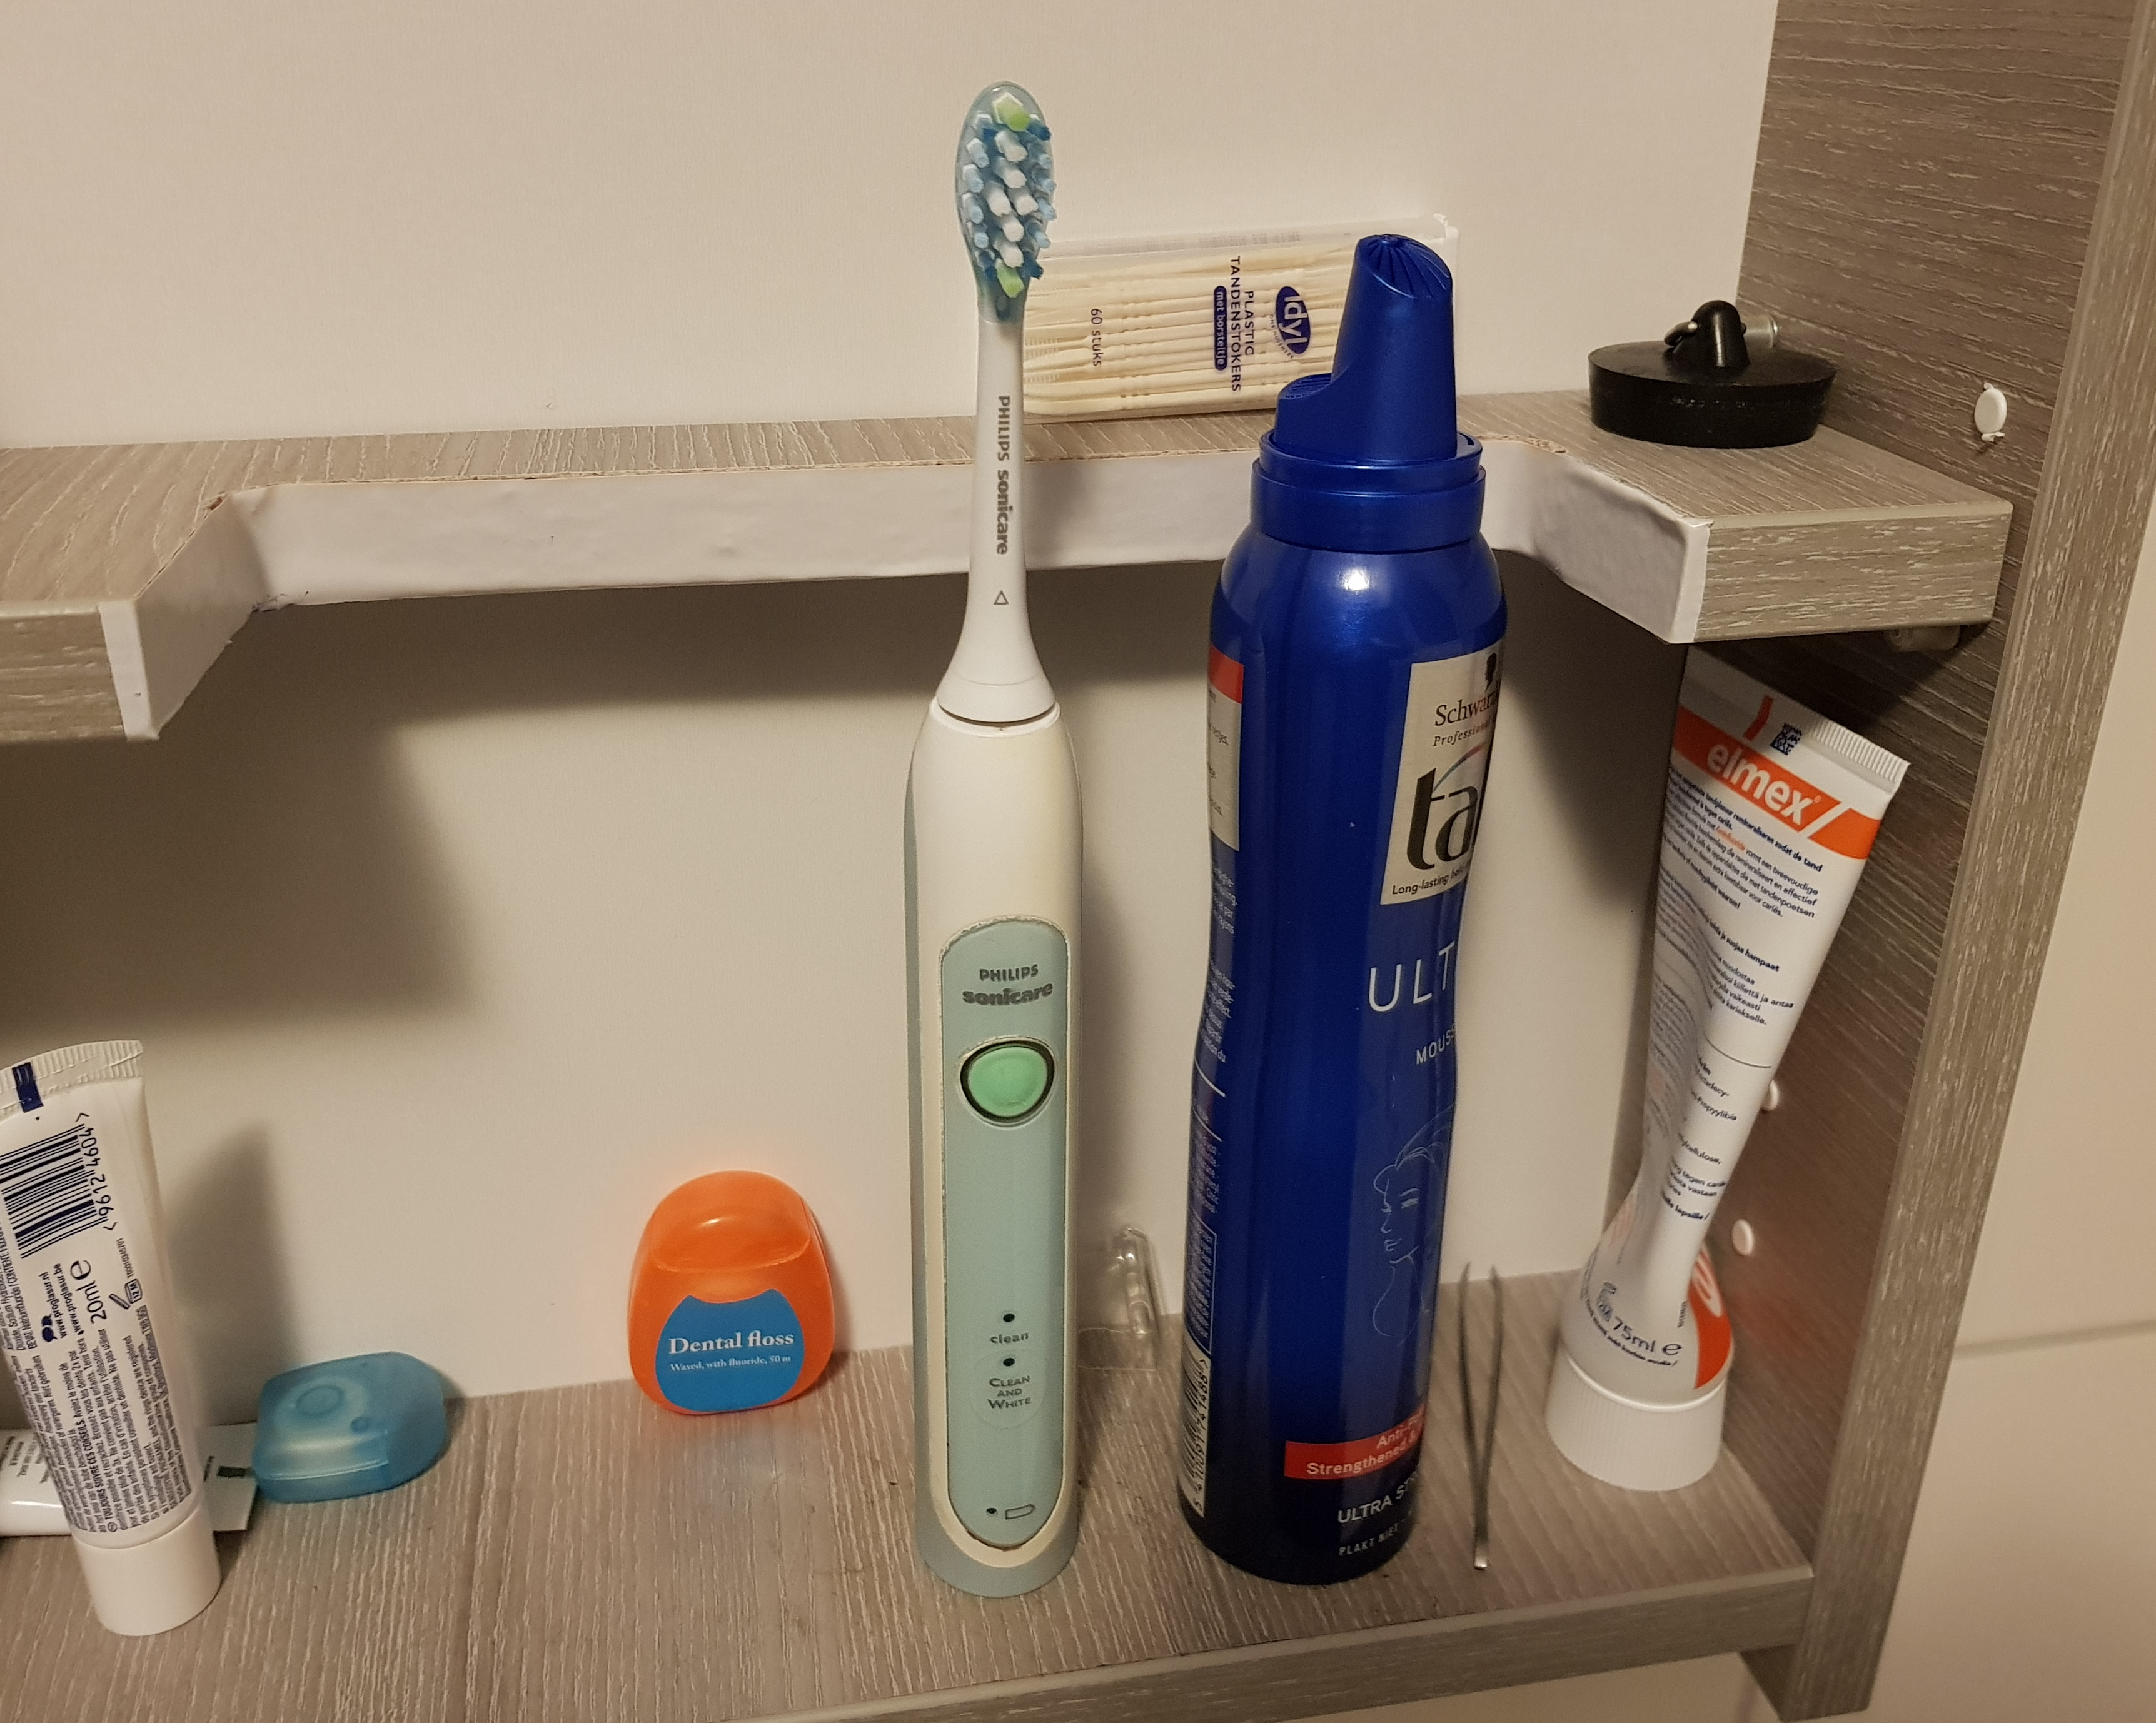
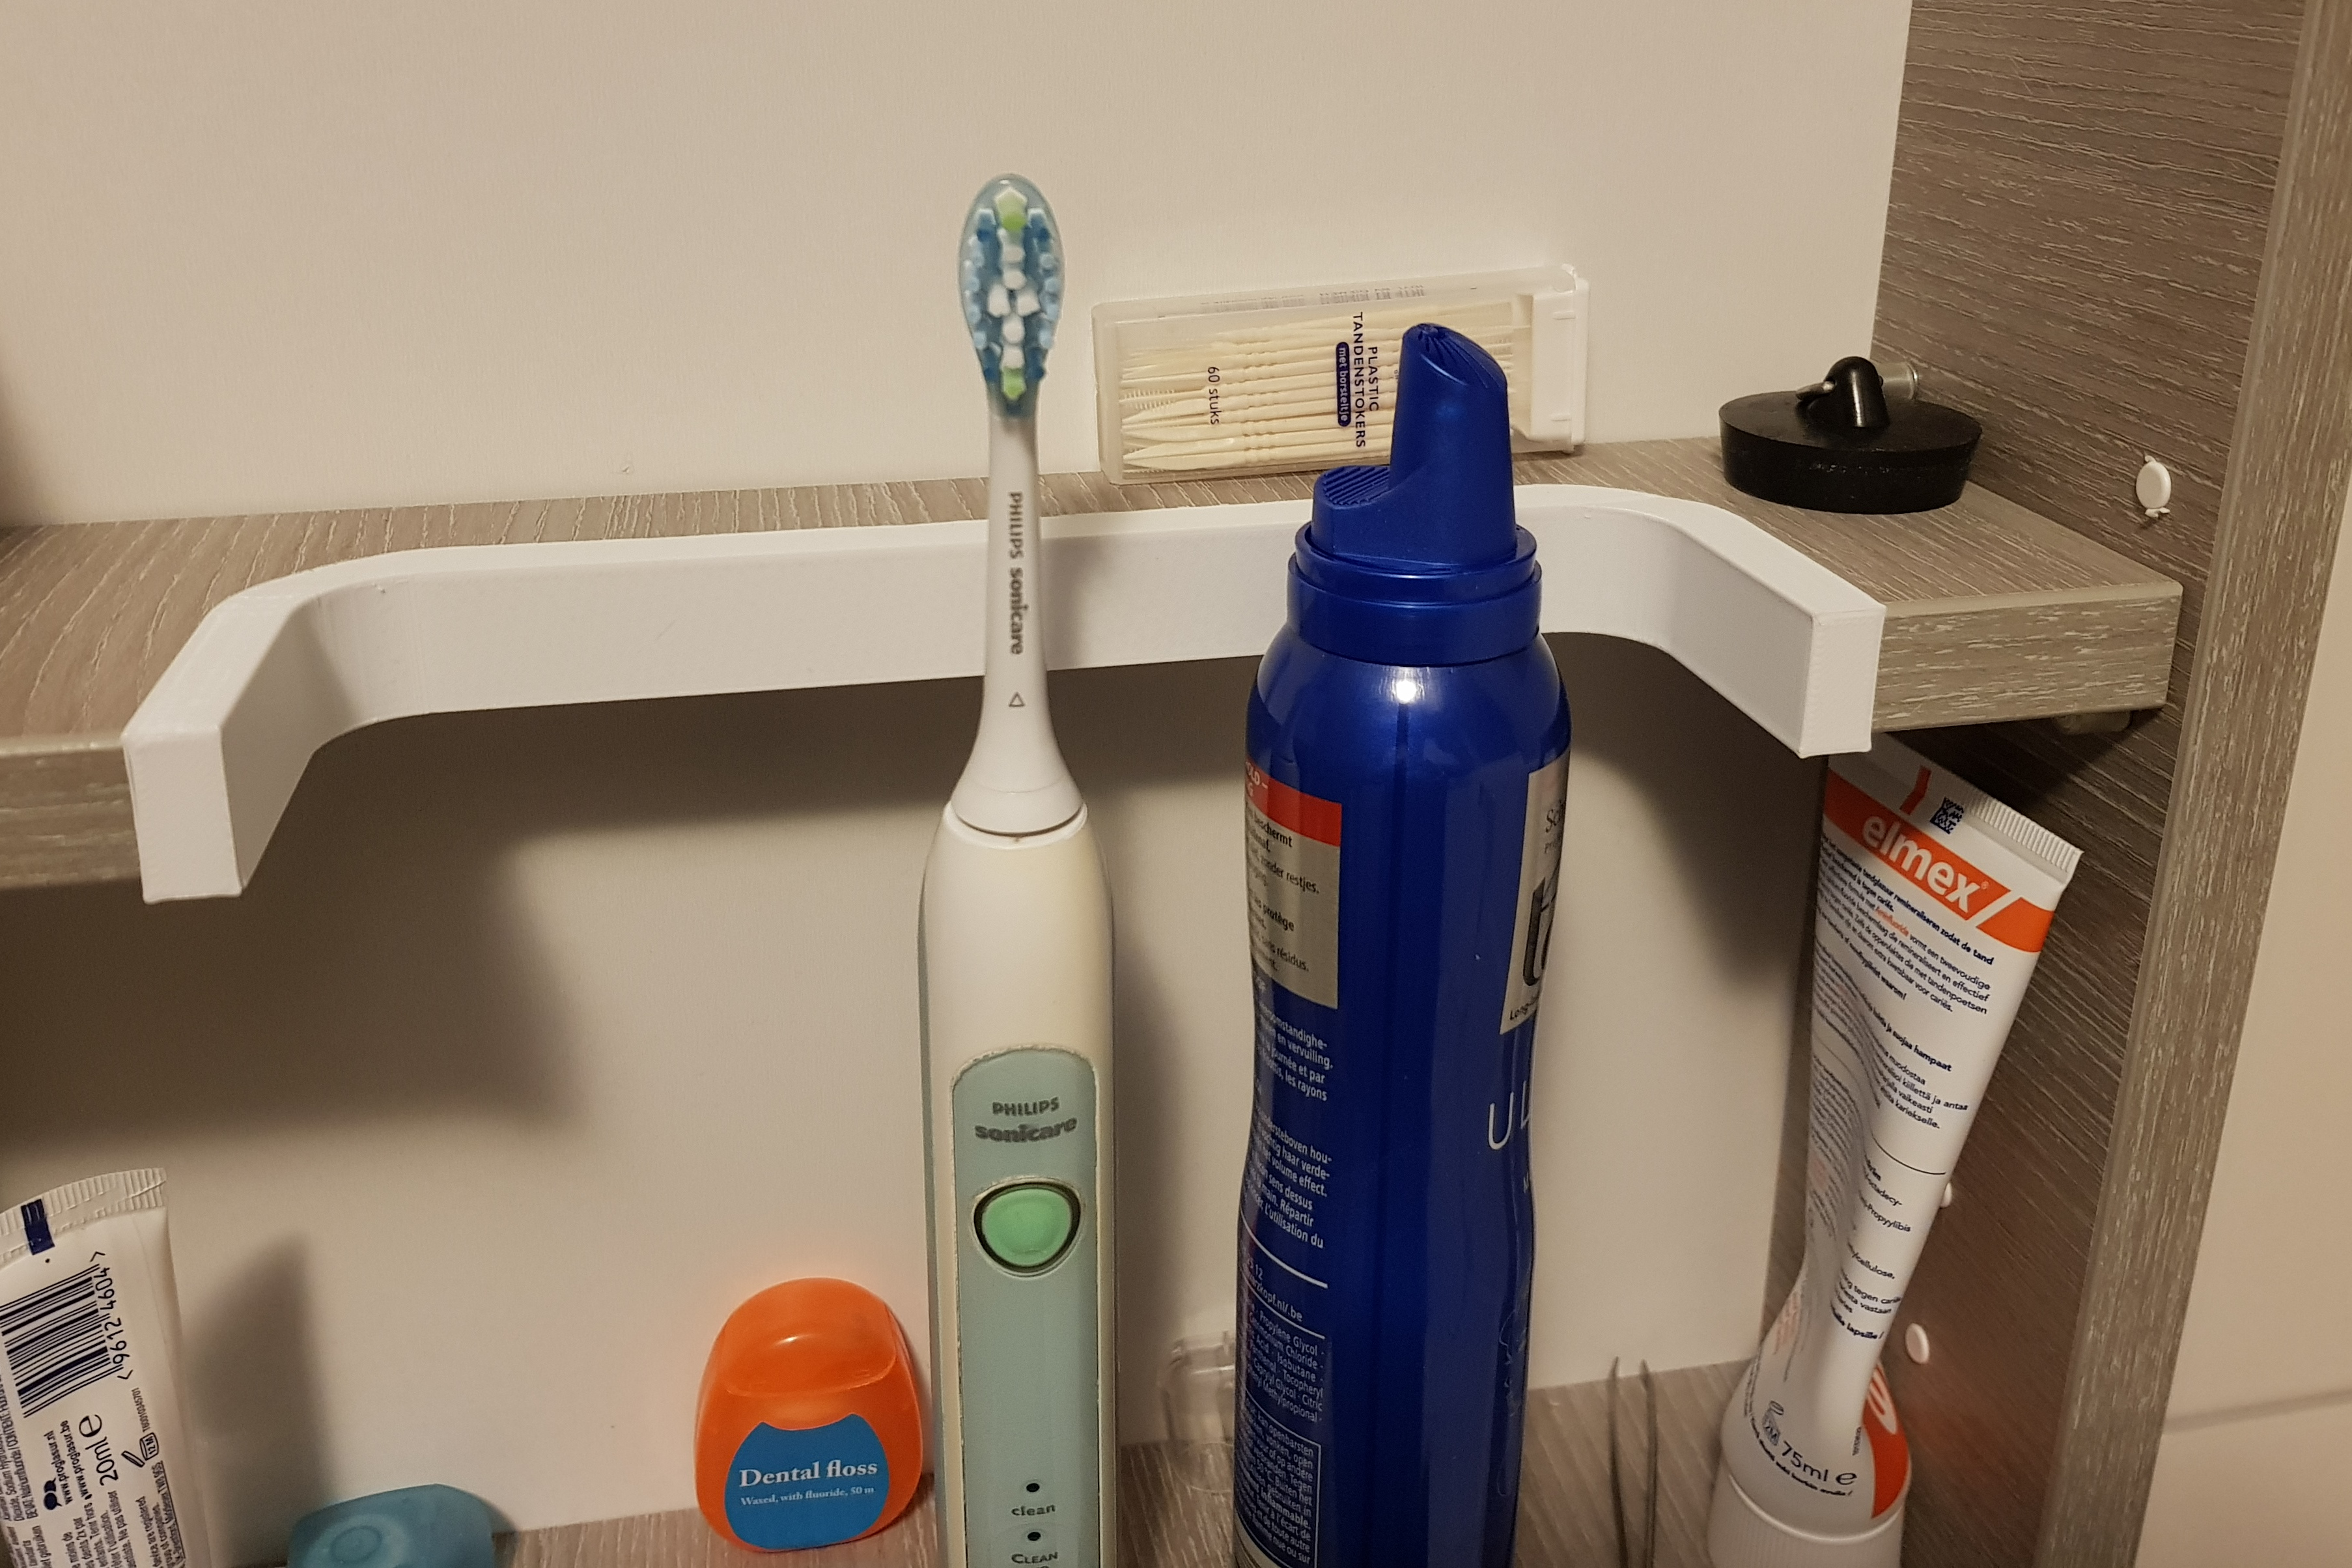
The shelves in my bathroom (mirror) cabinet do have fixed positions. So when trying to put an electric (standing) toothbrush in there, it would not fit. So I just took out a bit of one of the shelves. And this left an ugly front side of the shelf, which needed some solution.
First attempt was just using a bit of electric isolation tape;
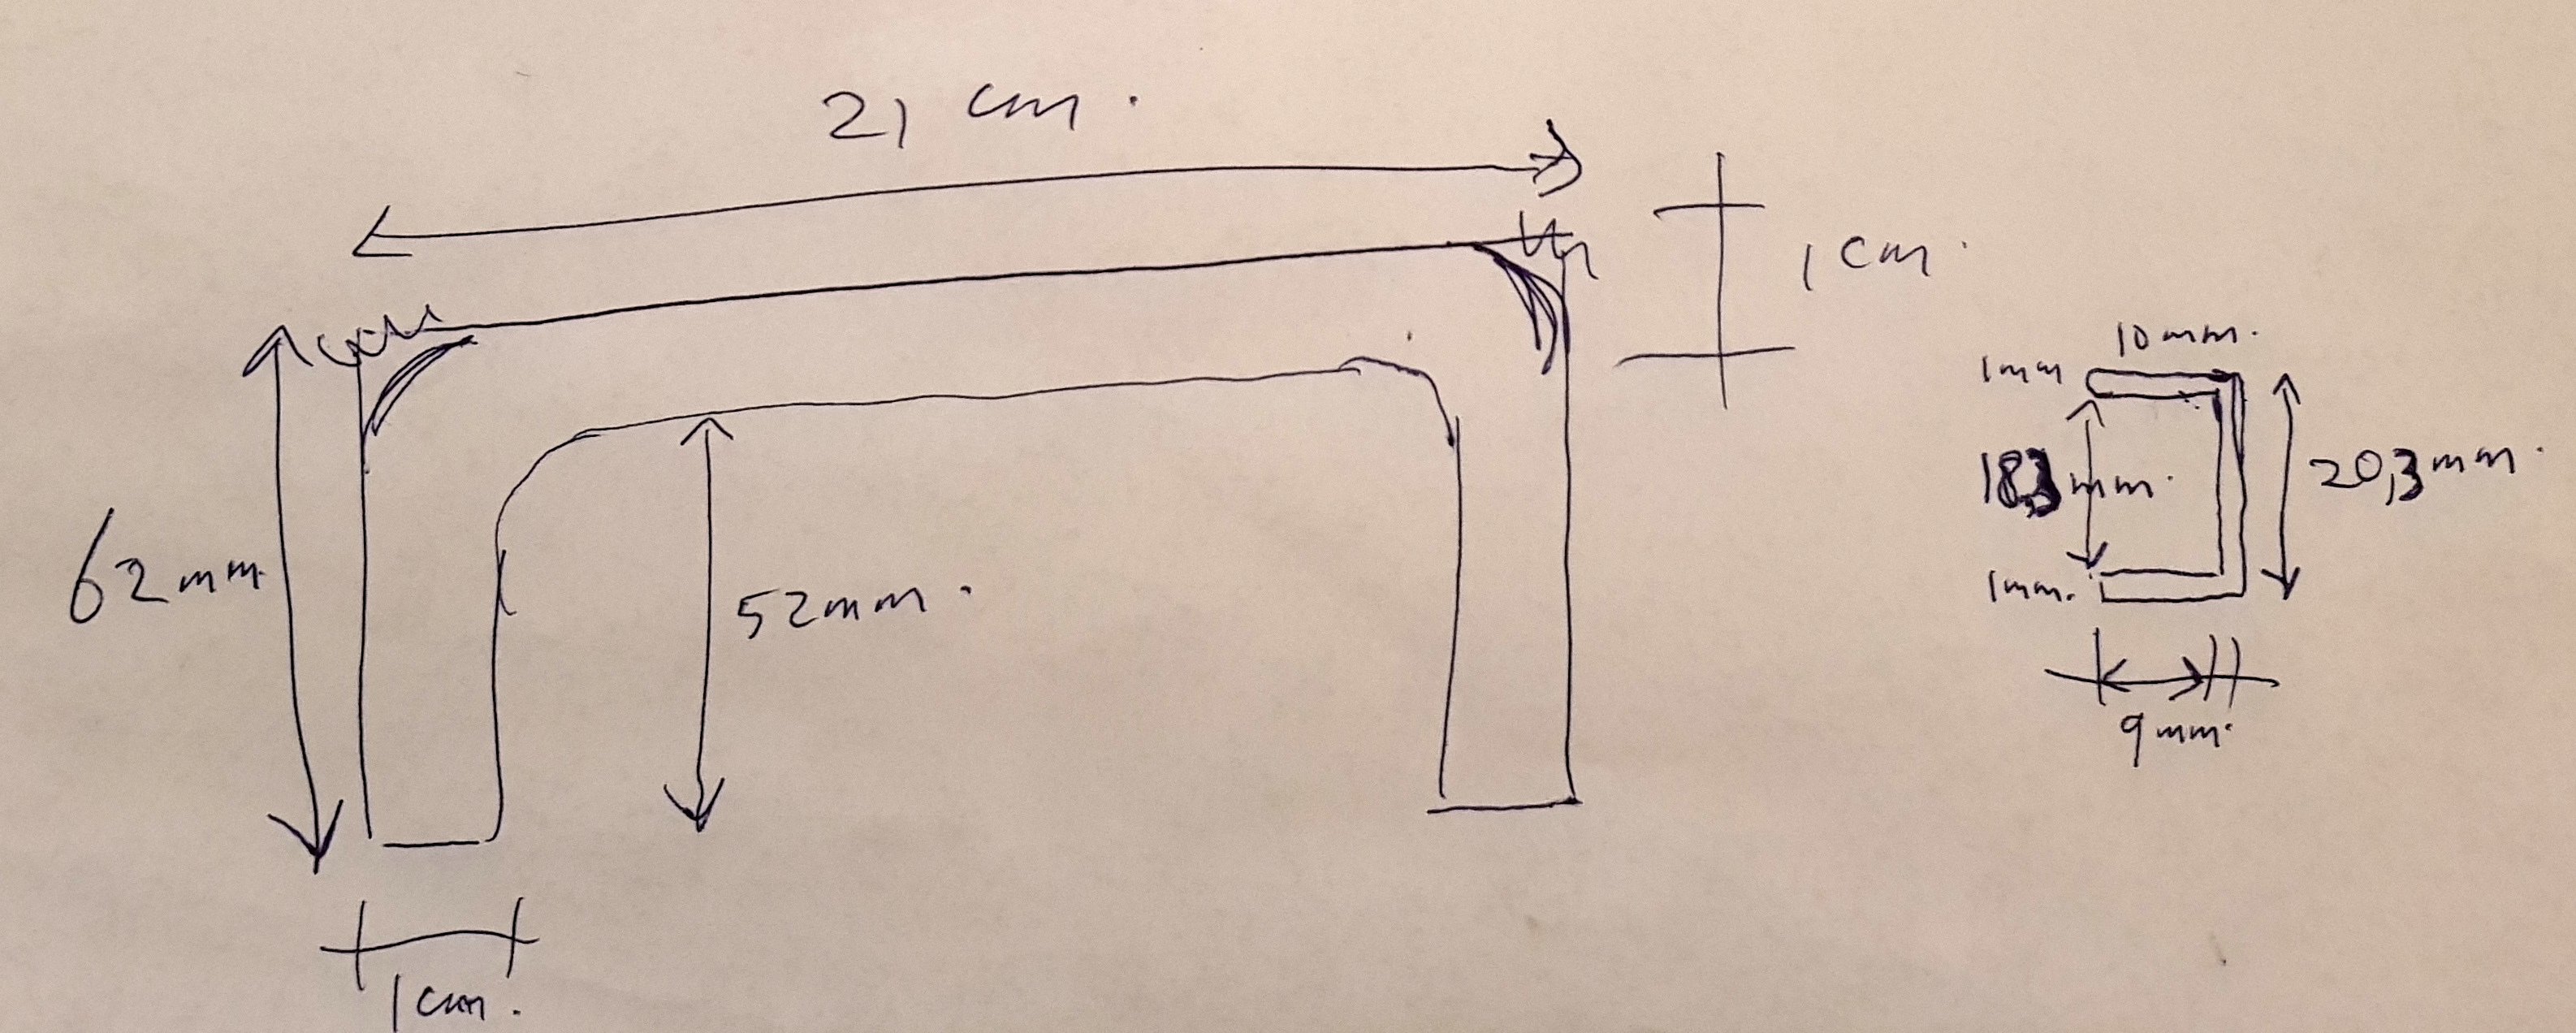
Of course this works fine (a bit shabby, but it’s juts a normally closed cupboard). But as I did buy myself a nice (black Friday) 3D printer, last November, I thought I could do better 😉 So I took some measurements, to design a 3D U-profile cover strip.
Then using Blender (a 3D modeling program), I converted this into the needed U-profile, using some simple steps;
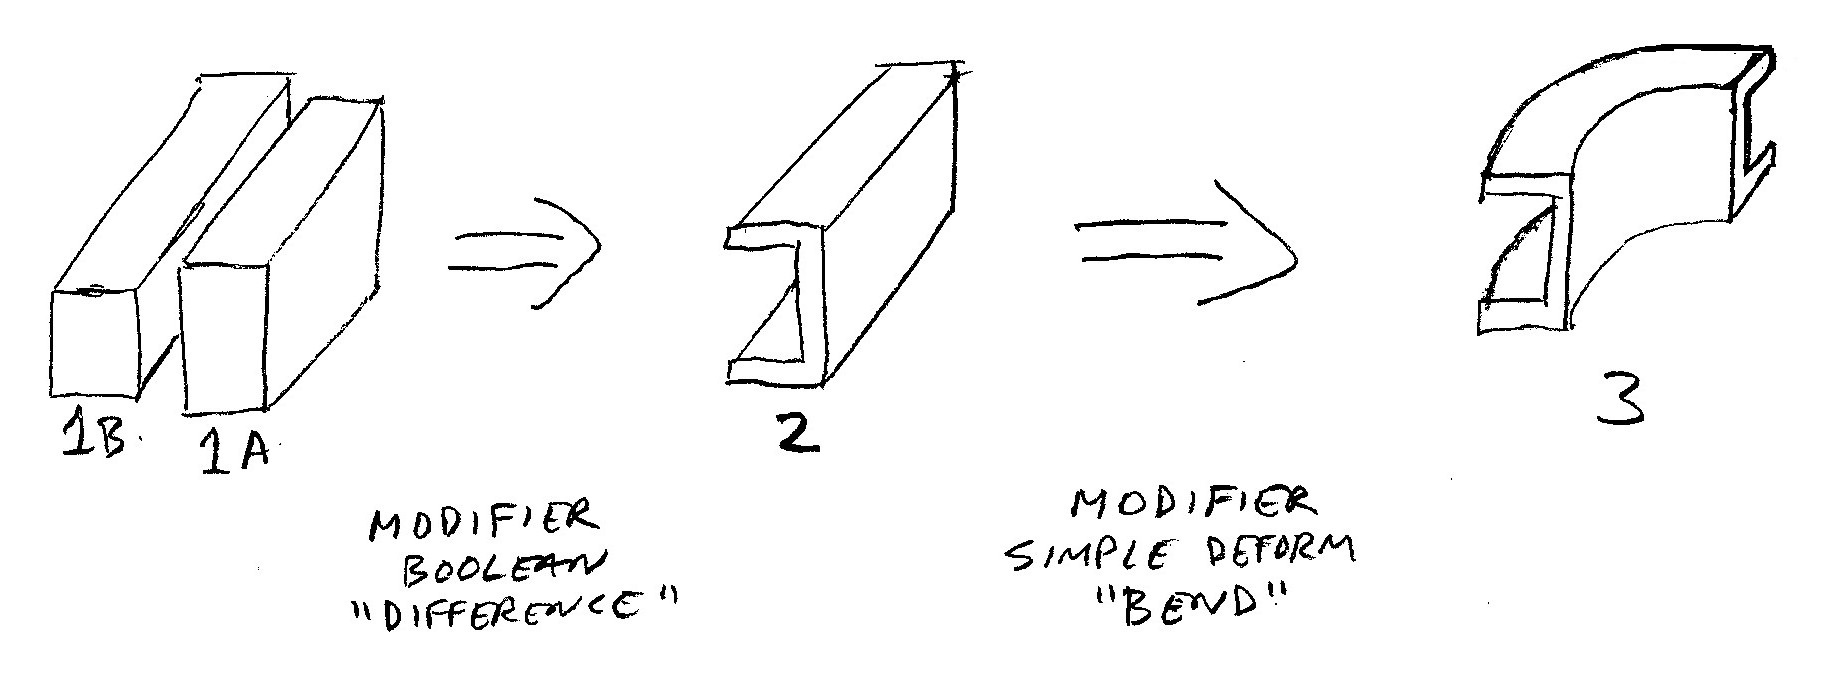
I took a cube, re-sized it to a 5 cm by 1 cm by 20,3 mm bar (see 1A in above diagram). Then took a second bar, a bit smaller (see 1B), used the Boolean modifier tool to remove 1B from 1A to get me a 5 cm long U-profile. Then I used the “simple deform” modifier to bend it for 90 degrees (after first using the loop-cut-and-slide tool to add a whole bunch of segments to the U-profile, otherwise you do not get a nice bend). A simple copy/paste and mirroring to get a second bend U-profile. Connect and resize them by extruding the sides. And finally adding “end-caps” (just a thin rectangle to close the side). And to make it a single object, using the Boolean modifier again, this time not the “difference”, but the “union” of the objects.
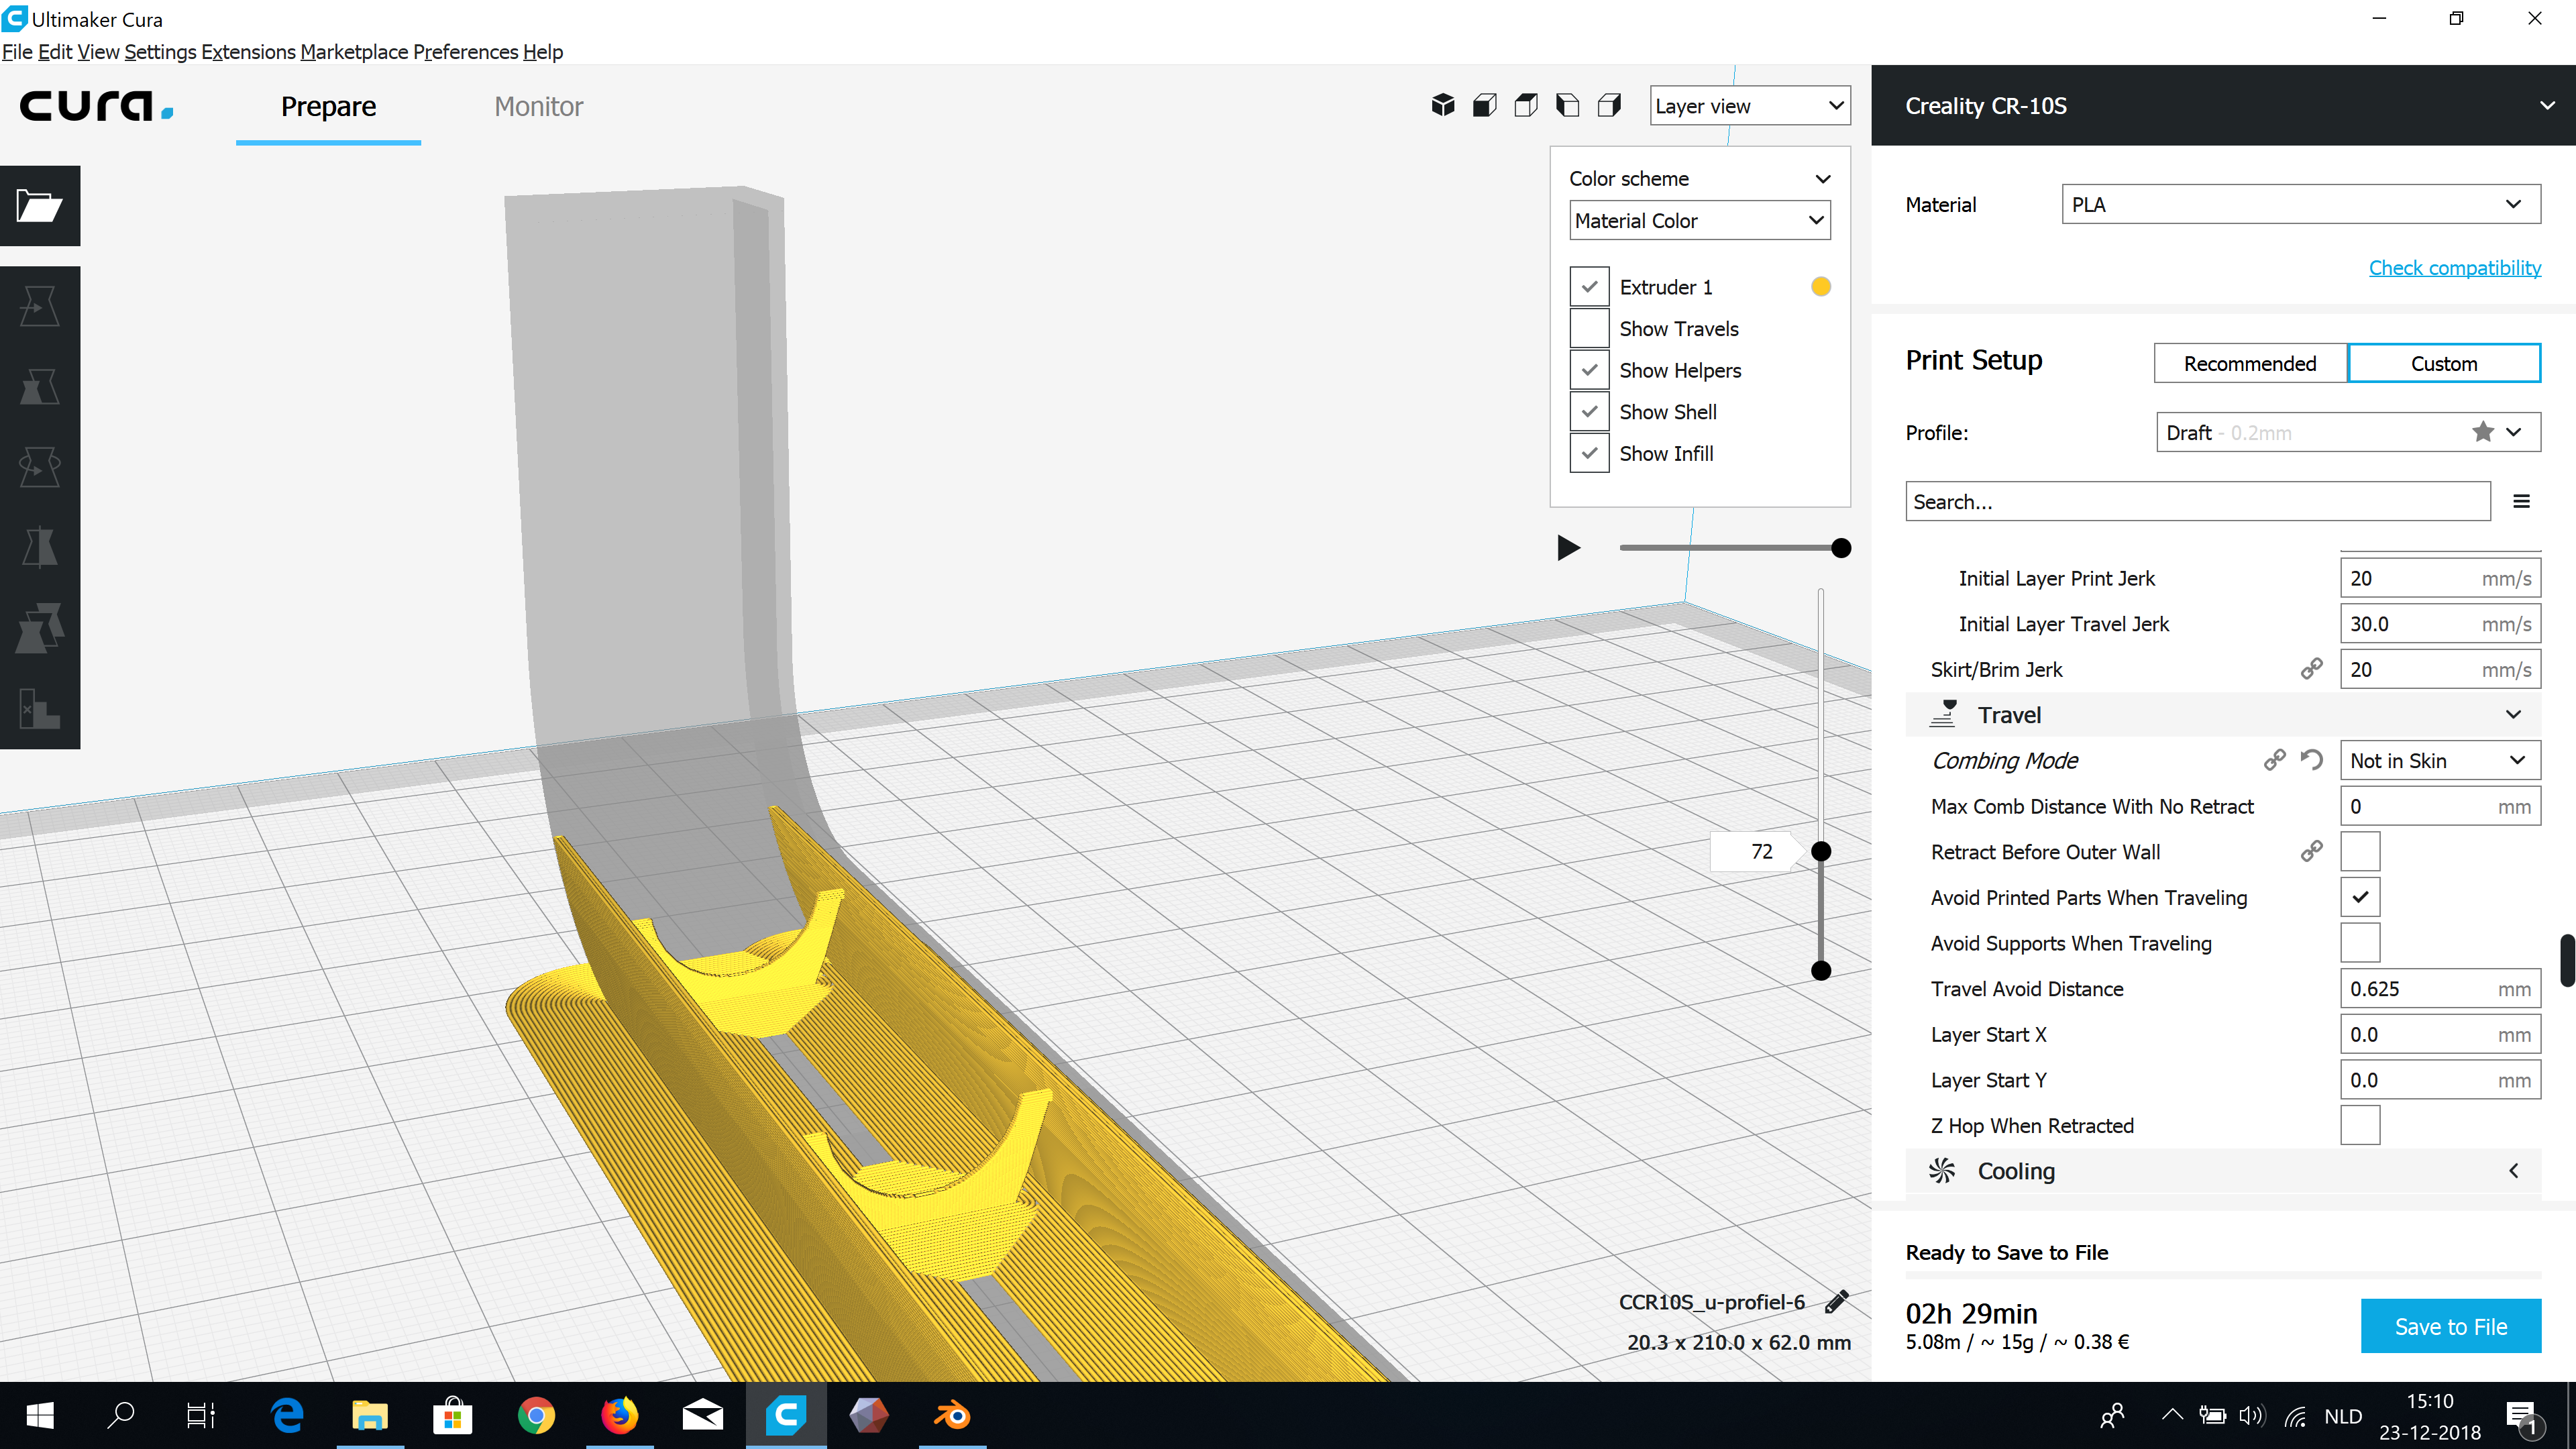
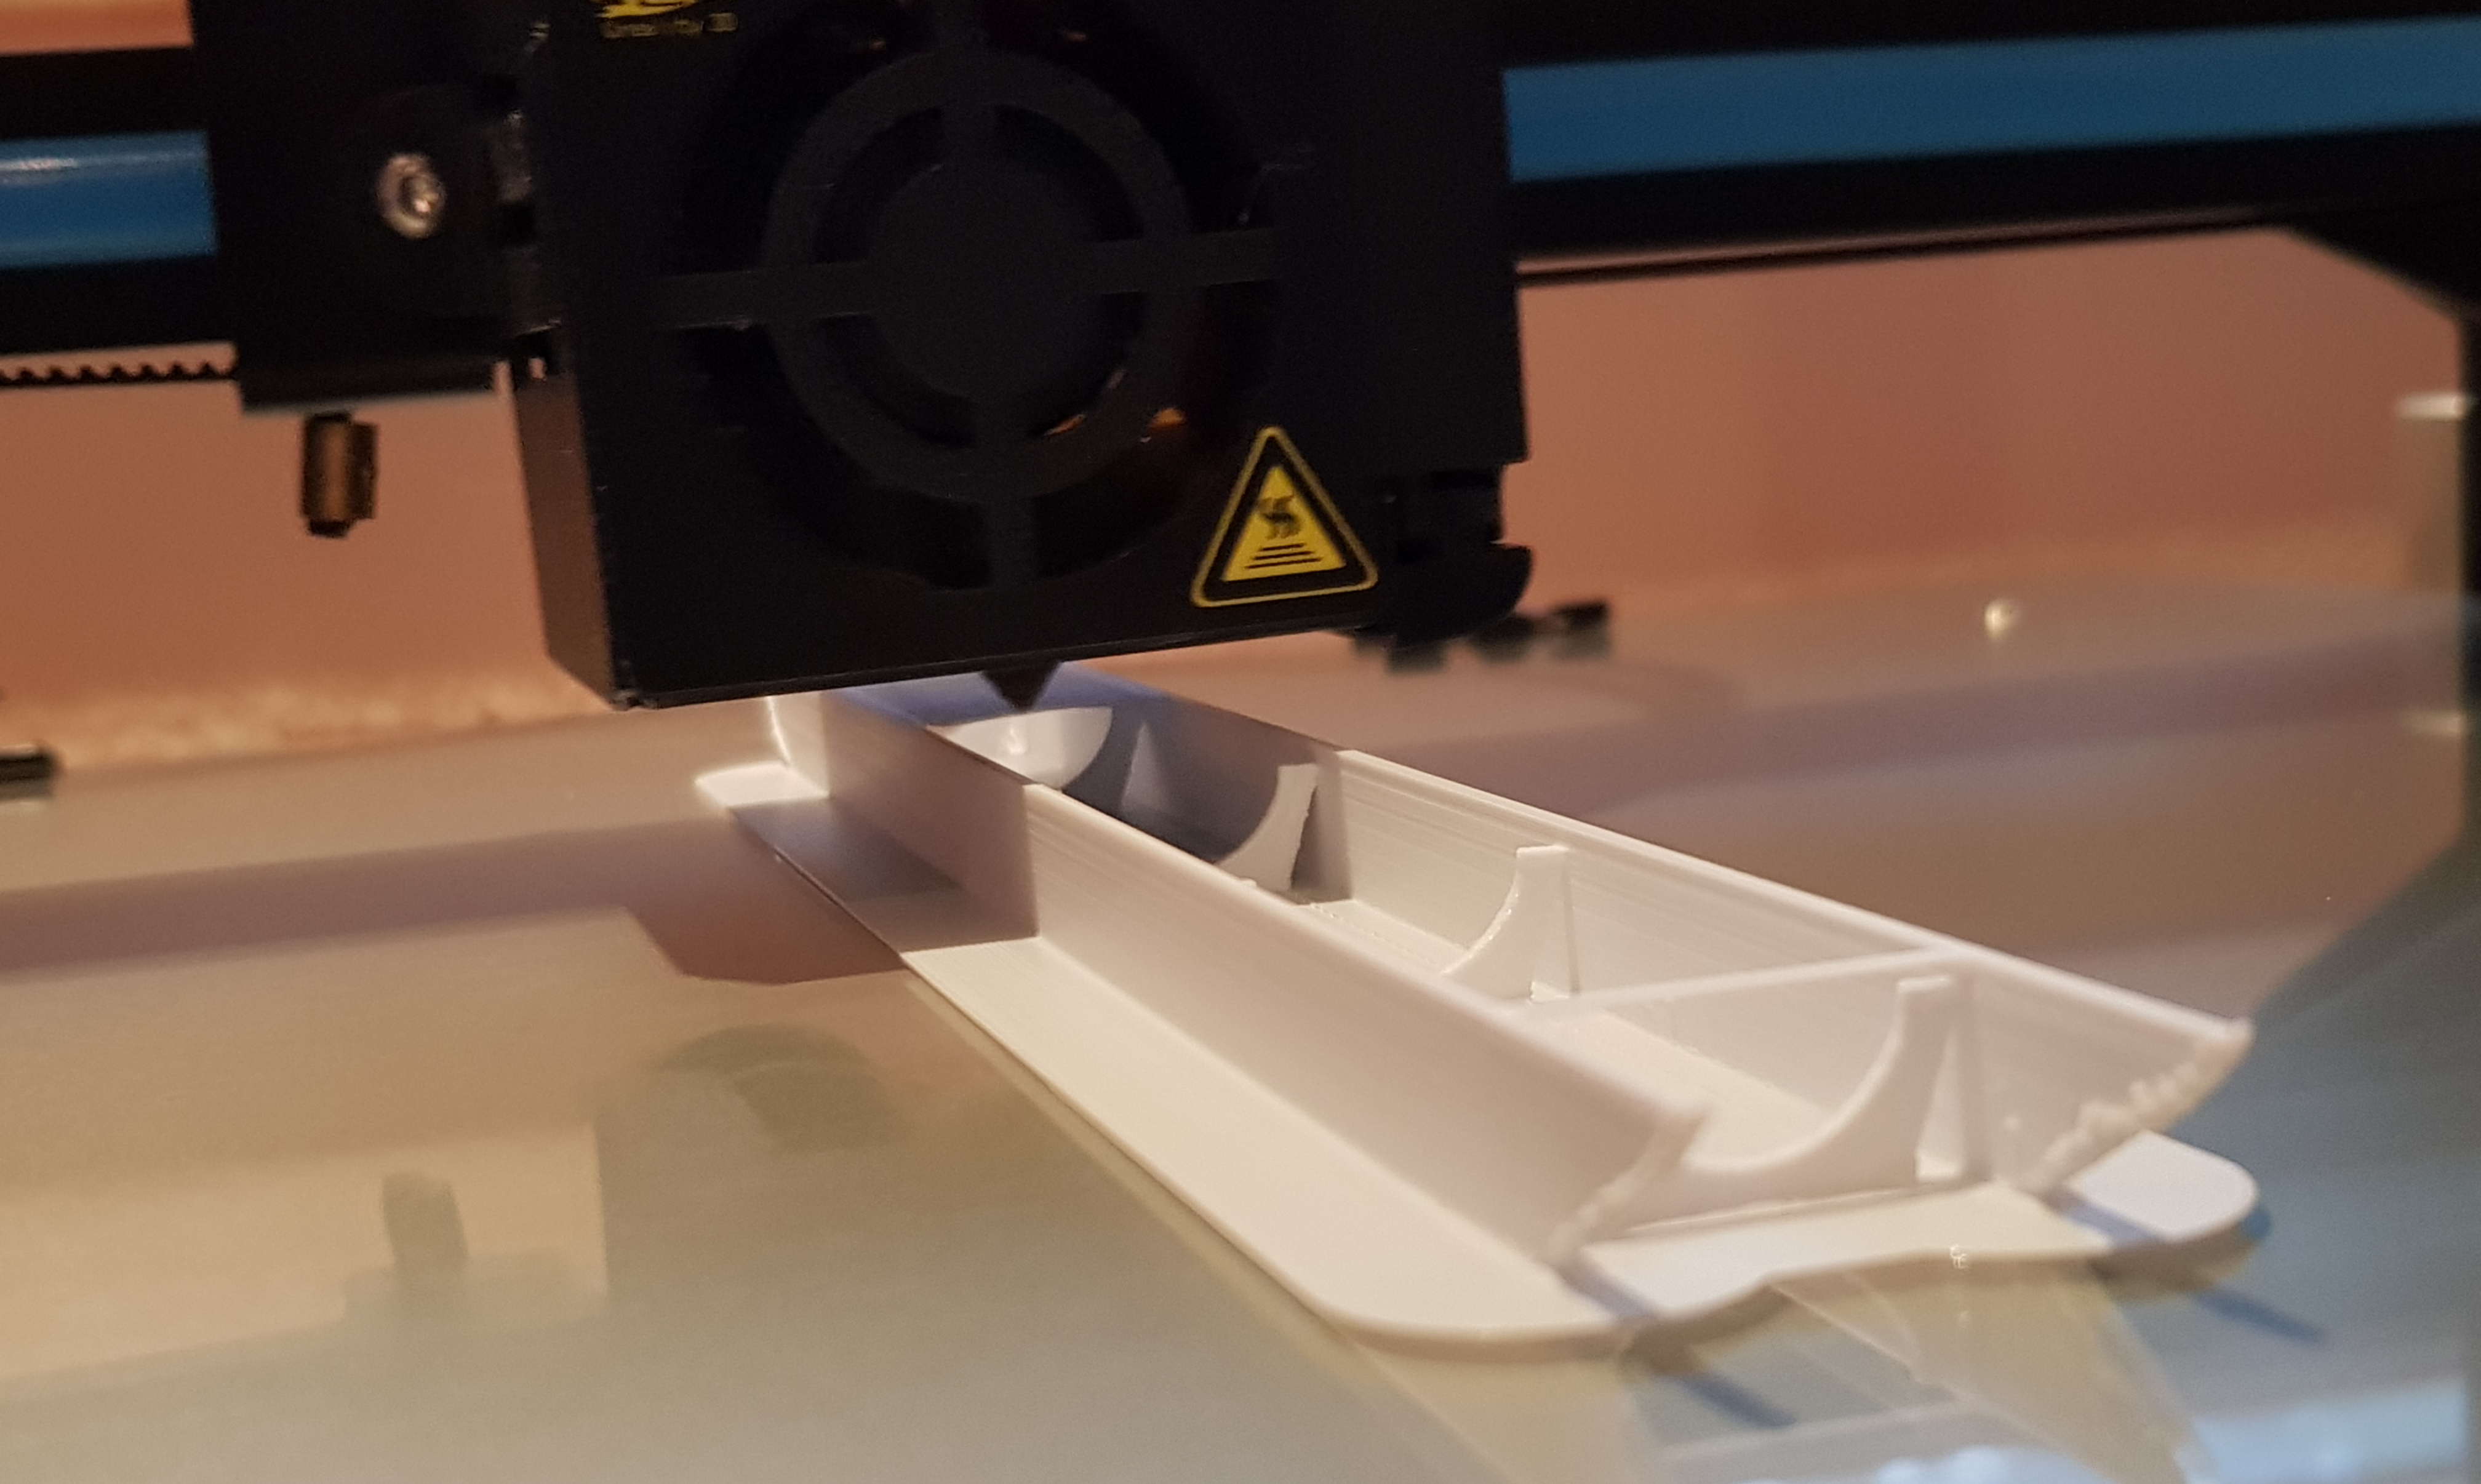
To be able to print this without so called (auto generated) “support structures”, I did put the U-profile on it’s long open side downwards. In that case, the printer will print the sides of the U, and then put sticky molten plastic wires between the top of the wall’s to make the roof. And then some more layers to finish it off. However… I did not count on the fact that my wall’s were quite thin and flexible, also they are on a heated print bed, and it did not go too well… See next drawing of my issue;
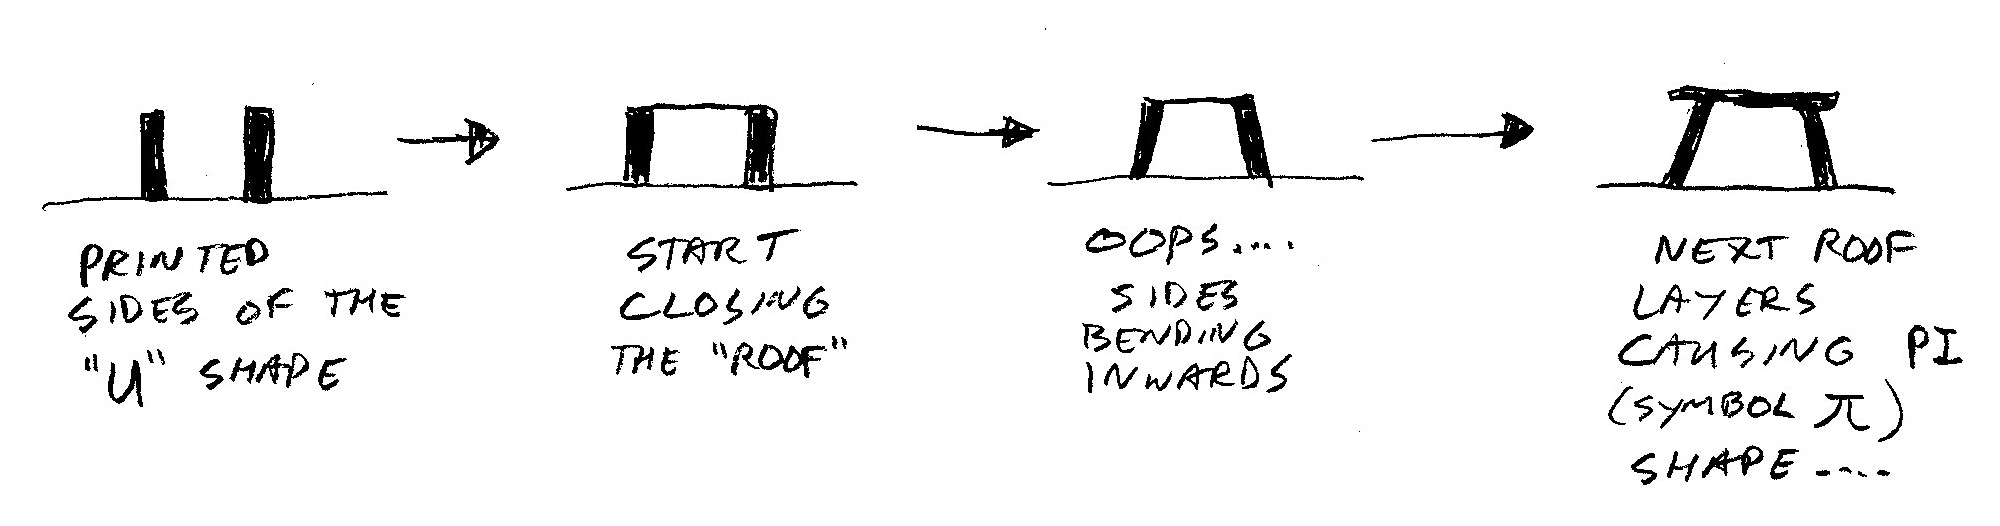
As I did not want auto generated support’s, I did change my design to contain some manual supports, little plastic pieces inside the U shape, to push the wall’s to the outside. In the hope this would prevent them from bending inwards. After printing, the extra pieces would have to be cut out.
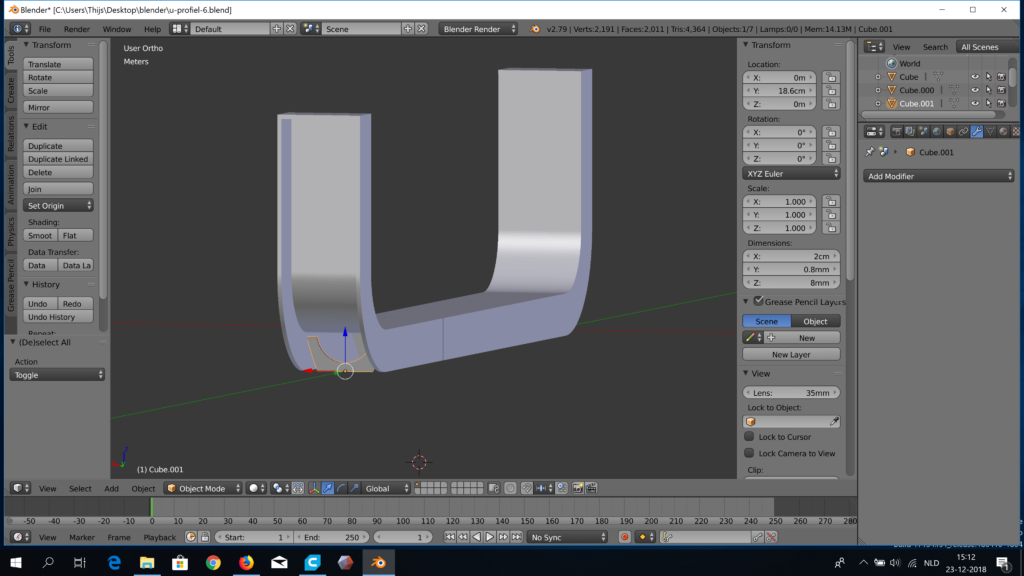
U-profile in Blender 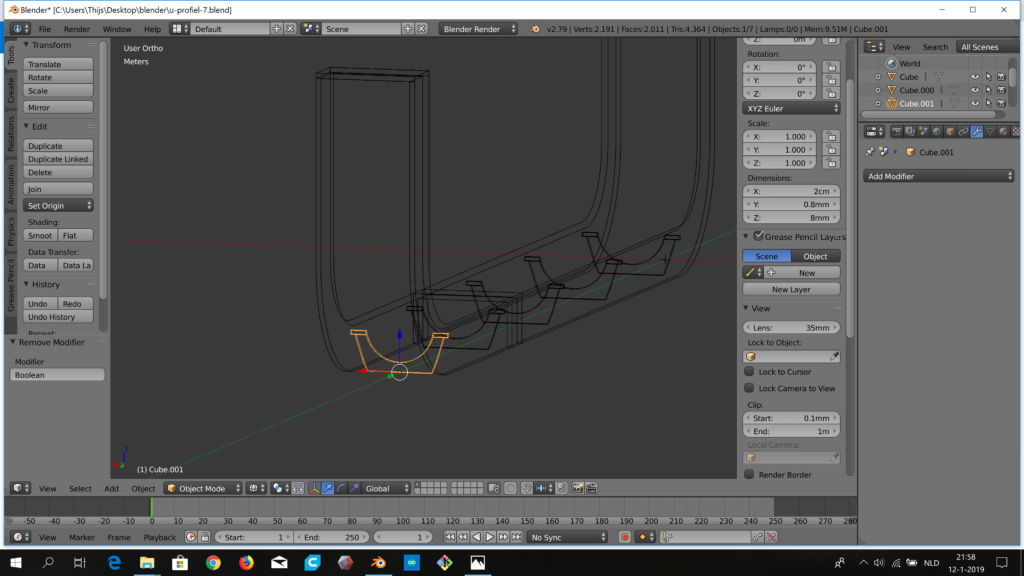
Added supports along the bottom

Test supports 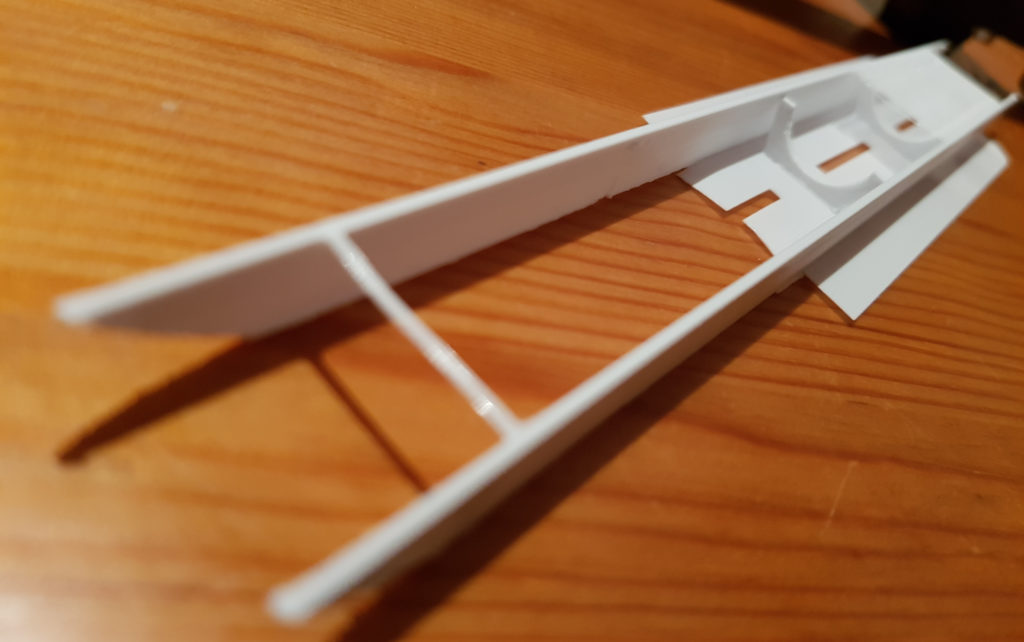
Test removal of supports
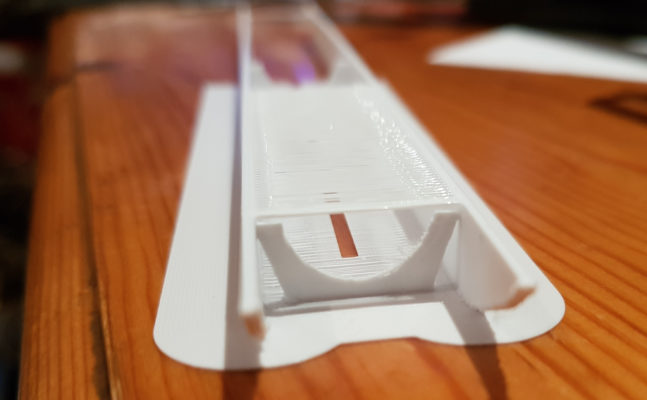
OK, it did work somewhat better, bit still not 100% good looking… There still is a small bit of distortion, bending the wall’s inside. But when mounted in the cupboard (the shelve pushes the wall’s back a bit), it does not show that obvious, so I stopped at this result. Here’s an image of the horribly failed version 1, the version 2 (half printed) test, and the final (full printed) version 2:

And last but not least, the installed end result:
Conclusion: this was one of my first own designs. Points to keep in mind, 1 mm wall’s are quite thin, and break and bend easily. Sometimes you need to adapt your design to add custom supports. But I managed to get something designed (Blender has a quite steep learning curve), and get it printed in reasonable quality. Overall it was a nice little test project.
Thijs